How to Achieve Natural-Looking Brows?

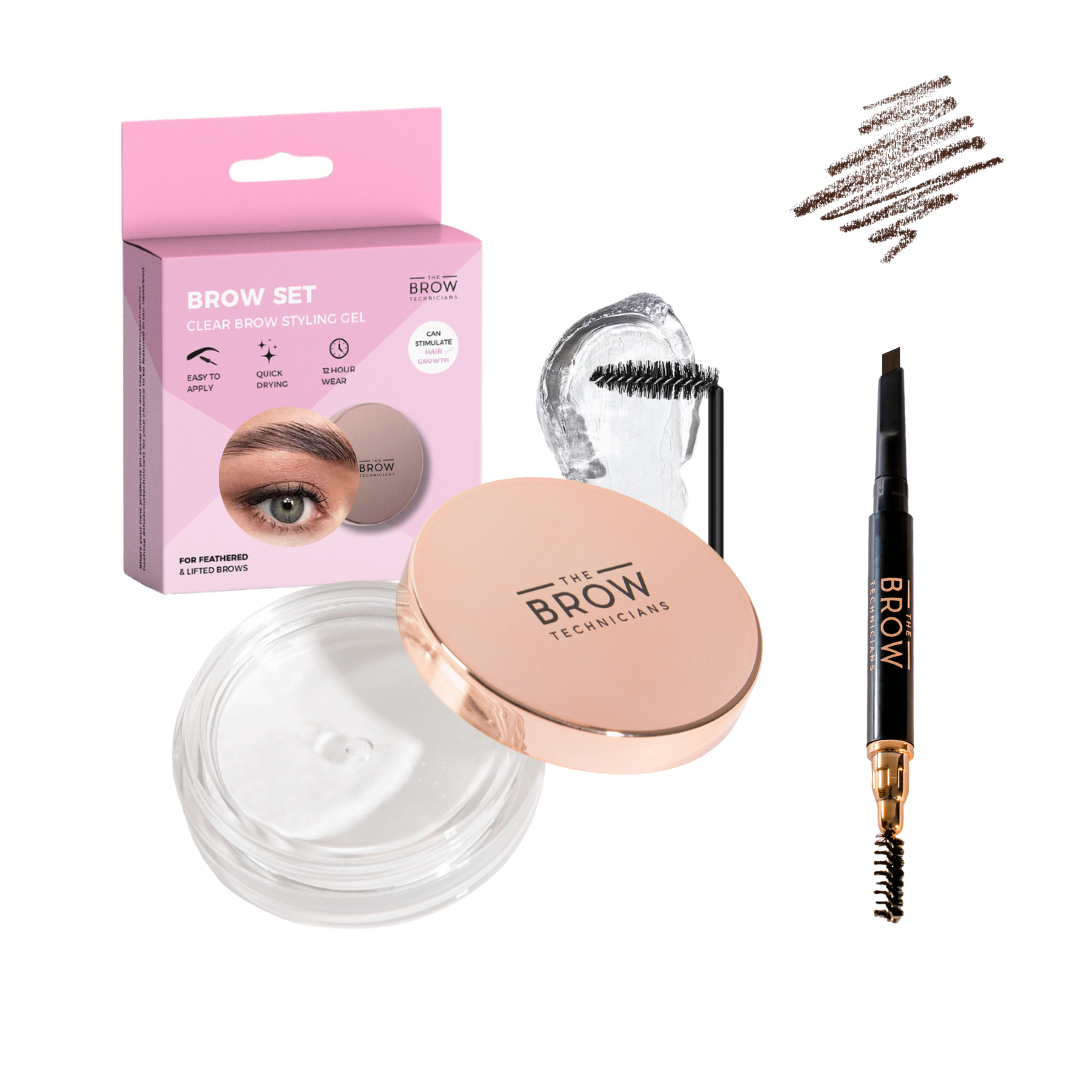
Achieving natural-looking brows is an art that enhances your facial features and completes your overall look. With the right products and techniques, you can create brows that are defined, full, and beautifully natural. In this guide, we'll walk you through how to achieve natural-looking brows using The Brow Technicians' 3D Brows Eyebrow Styling Gel and Waterproof Pencil.
Step 1: Prepare Your Brows
Before you start styling, it's important to prep your brows. Ensure they are clean and free from any makeup or oils. You can use a gentle cleanser to clean the brow area and pat them dry with a towel.
Step 2: Shape Your Brows
The key to natural-looking brows is to follow your natural brow shape. Use a spoolie brush to comb your brows upward, which helps you see their natural arch and any sparse areas that need filling.
Step 3: Fill in Sparse Areas
Using The Brow Technicians' Waterproof Pencil, lightly fill in any sparse areas of your brows. The waterproof formula ensures long-lasting wear, making it perfect for all-day use.
Here's how to do it:
1. Choose the Right Shade: Select a pencil shade that matches your natural brow colour for a seamless look.
2. Light Strokes: Apply the pencil with light, feathery strokes to mimic the appearance of natural brow hairs. Start from the inner corner of your brow and work your way outwards.
3. Blend: Use the spoolie brush on the other end of the pencil to blend the colour and soften any harsh lines. This step ensures your brows look natural and well-blended.
Step 4: Define and Set Your Brows
Once you've filled in your brows, it's time to define and set them using The Brow
Technicians' 3D Brows Eyebrow Styling Gel. This gel not only keeps your brows in place but also adds dimension for a fuller look. Follow these steps:
1. Apply Gel: Dip the brush into the styling gel and remove any excess product. Lightly brush the gel through your brows in an upward motion to lift and define them.
2. Shape and Set: As you apply the gel, shape your brows to your desired look. The 3D Brows Eyebrow Styling Gel helps keep your brows in place all day without making them look stiff or unnatural.
3. Final Touch: For added definition, you can use the tip of the brush to add a little more gel to the tail of your brows, ensuring they stay perfectly in place.
Step 5: Finishing Touches
To complete your natural-looking brow look, make sure your overall makeup is balanced. Keep the rest of your makeup subtle to let your brows stand out. A little bit of concealer under the brow bone can help highlight and define your arch.
Tips for Natural-Looking Brows
• Less is More: Avoid overfilling or overdrawing your brows. The goal is to enhance, not to completely change your natural brow shape.
• Regular Maintenance: Keep your brows well-groomed by trimming any long hairs and plucking stray hairs that fall outside your natural brow line. You can do this by using The Brow Technicians Eyebrow Grooming Kit.
• Practice Makes Perfect: Achieving the perfect natural-looking brows takes practice.Don’t be discouraged if it doesn’t look perfect the first time.
Conclusion
With the right products and techniques, achieving natural-looking brows is simple and straightforward. The Brow Technicians' 3D Brows Eyebrow Styling Gel and Waterproof Pencil are perfect tools to help you create beautifully defined and natural brows. Follow these steps and tips to enhance your natural beauty with brows that look effortlessly gorgeous. Ready to transform your brows? Try these products from The Brow Technicians and enjoy the confidence that comes with naturally stunning brows.
https://thebrowtechnicians.com/collections/bundles/products/3d-brows-eyebrow-styling-gel-waterproof-pencil

