How Do You Use an Eyebrow Stamp & Stencil Kit Effectively?

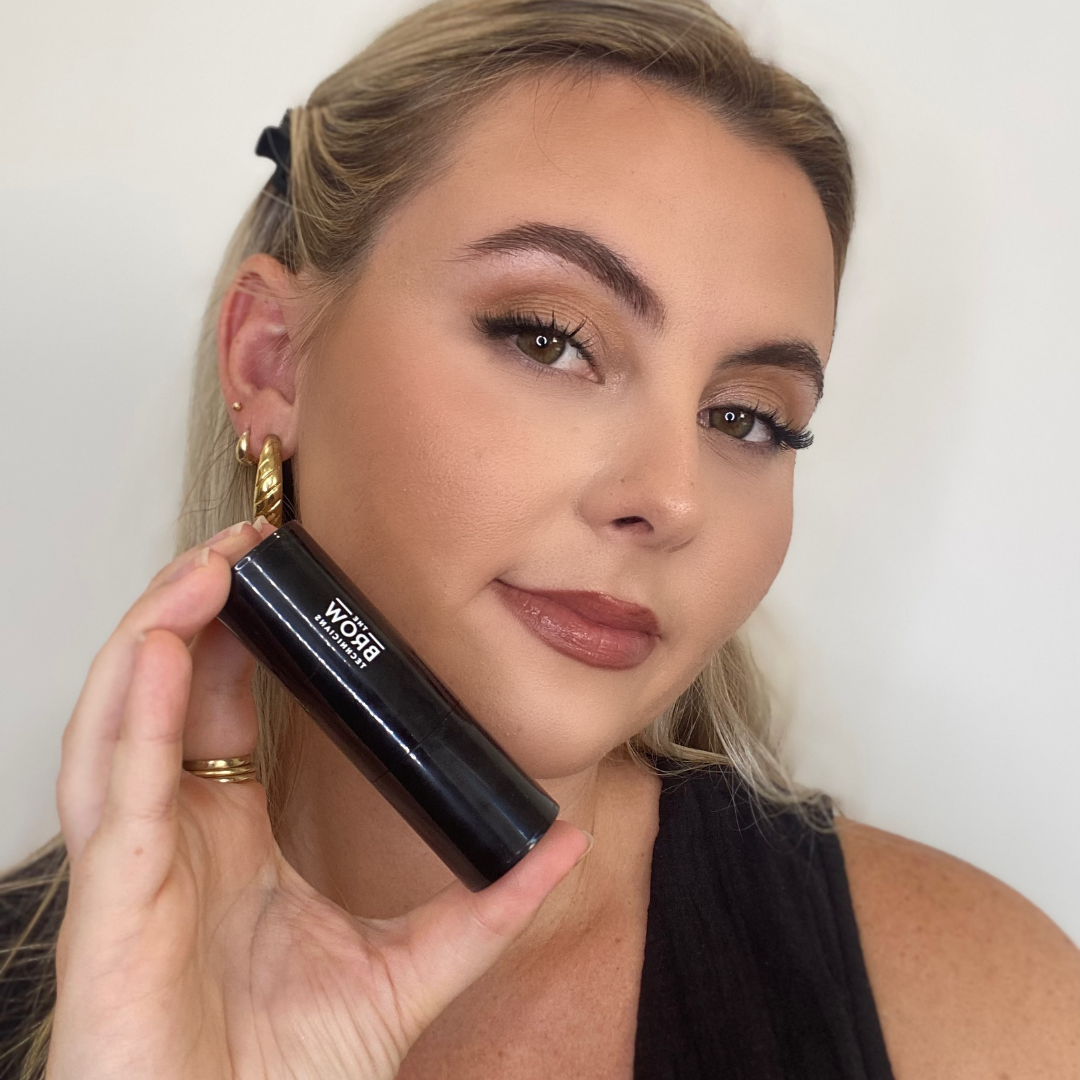
Eyebrow stamp and stencil kits have revolutionised the way we achieve perfectly shaped brows. Whether you're a makeup novice or a seasoned pro, these kits make brow grooming fast, easy, and accessible. However, to get the best results, it's essential to use them correctly. In this guide, we’ll walk you through how to use an eyebrow stamp and stencil kit effectively, featuring The Brow Technicians Brow Stamp & Stencil Kit.
Step-by-Step Guide to Using an Eyebrow Stamp & Stencil Kit
1. Choose the Right Stencil
The Brow Technicians kit includes 10 versatile stencils, each designed to fit a variety of face shapes and brow styles. Start by selecting the stencil that best matches your desired eyebrow shape. If you’re unsure, hold a few stencils up to your brow to see which one aligns with your natural arch and face shape.
2. Prep Your Brows
Before you begin, make sure your brows are clean and free of any makeup or oils. Use a spoolie brush to comb your brow hairs upward and outward. This step helps you see the natural shape of your brows and ensures a smooth application.
3. Position the Stencil
Once you’ve selected your stencil, align it with your natural brow shape. Hold the stencil firmly against your skin, making sure it’s positioned evenly on both sides. The stencil should sit comfortably on your face, with the brow arch aligned with your natural arch.
4. Apply the Brow Stamp
Now, it’s time to apply the brow stamp. The Brow Technicians kit comes with a stamp that’s loaded with high-pigment, sweat-resistant formula. Gently press the stamp onto the stencil, starting from the tail of the brow and working your way towards the front. Apply light pressure at the front for a natural look, ombre look.
5. Fill in Any Gaps
After removing the stencil, take a look at your brows. If there are any areas that need more coverage, you can use the powder with an angled brush or a brow pencil to fill in the gaps. This step ensures your brows look full and even.
6. Refine the Shape
Use a clean spoolie brush to comb through your brows again. This helps blend the product and gives your brows a more natural finish. If needed, you can also clean up the edges with a bit of concealer to define the shape further.
7. Set Your Brows
To ensure your brows stay perfectly in place all day, finish with a brow gel. The Brow Technicians 2-in-1 Brow Styling Gel with Hair Growth is an excellent choice for this step. Its lightweight, non-sticky formula locks in your brow colour while taming any unruly hairs, giving you a polished, long-lasting finish. Whether you're facing a busy day at work or a night out, this gel will keep your brows looking fresh and flawless.
Tips for Best Results
• Start Light: If you’re new to using a brow stamp, start with a light hand. You can
always build up the colour, but it’s easier to add product than to remove it.
• Experiment with Shades: The Brow Technicians Brow Stamp & Stencil Kit comes in a variety of shades. Don’t be afraid to try different shades to find the one that best complements your hair and skin tone.
• Practice Makes Perfect: Like any makeup technique, using a brow stamp and stencil effectively may take a bit of practice. Spend some time experimenting with different stencils and application techniques to find what works best for you.
Why the Brow Technicians Brow Stamp & Stencil Kit Is a Must-Have
The Brow Technicians Brow Stamp & Stencil Kit is perfect for anyone looking to achieve flawless brows with minimal effort. With 10 different stencils and a variety of shades, this kit allows you to create a wide range of brow styles, whether you prefer a soft, natural look or bold, defined brows. Plus, the water-resistant formula ensures your brows stay put all day.
Ready to take your brow game to the next level? Explore the Brow Technicians Brow Stamp & Stencil Kit here and enjoy the confidence of perfectly shaped brows every day!

