Step-by-Step Guide to Perfect Eyebrow Contouring

Eyebrow contouring is a transformative technique that enhances your facial features and creates a polished, defined look. Whether you’re aiming for bold, dramatic brows or a more natural appearance, this step-by-step guide will help you achieve perfect eyebrow contouring.
Step 1: Gather Your Tools
Before you begin, make sure you have the following tools:
- Eyebrow pencil or powder
- Spoolie brush
- Angled eyebrow brush
- Concealer
- Highlighter
- Small, flat brush for concealer
- Eyebrow gel (optional)
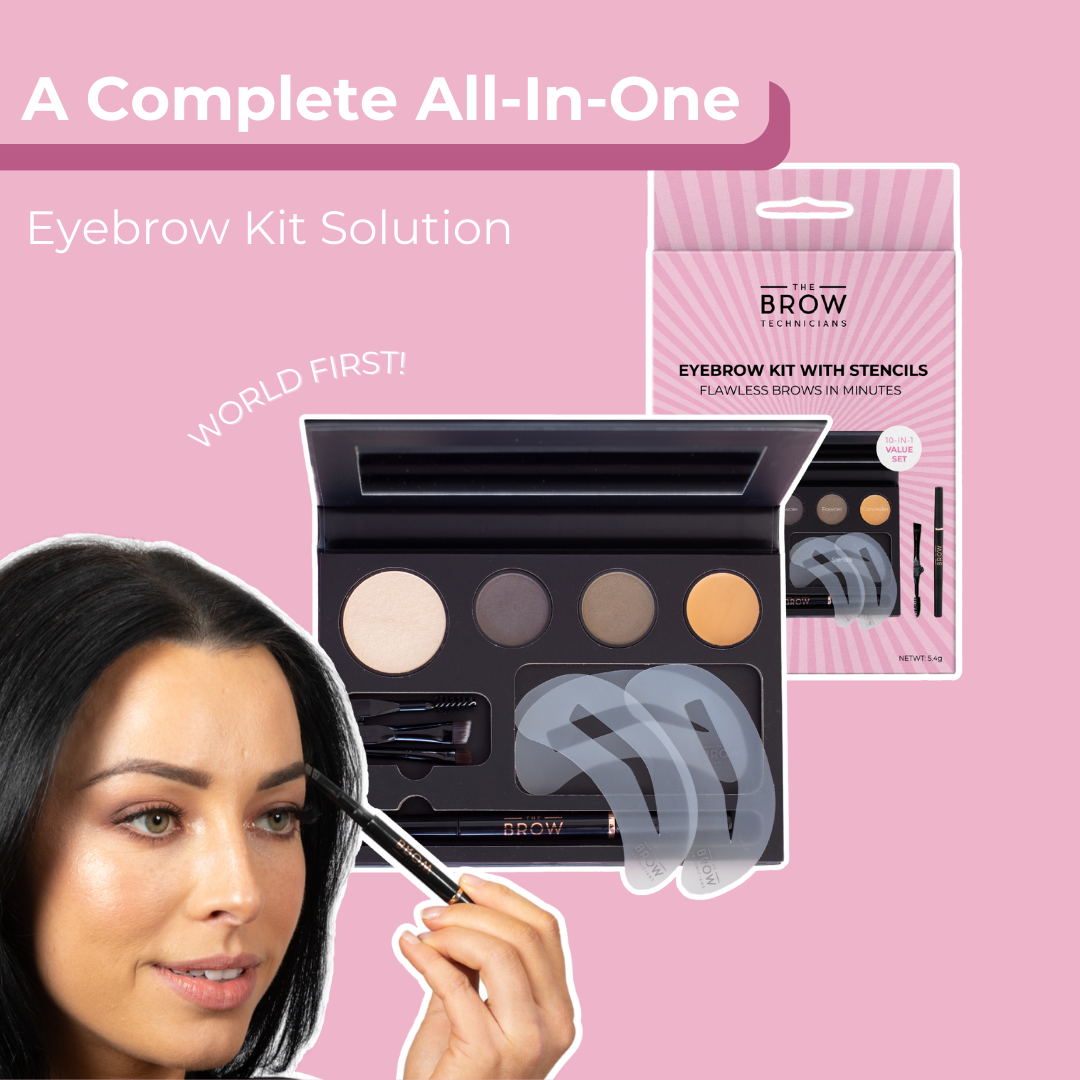
Product Recommendation: The Brow Technicians All-in-one Eyebrow Designer Kit, Complete with stencils, powders, a pencil, brushes, concealer, and highlighter,
Step 2: Determine Your Brow Shape
Understanding your natural brow shape is crucial. Here’s how to find the key points:
- Start: Hold a brush vertically alongside the outer edge of your nose. Where it meets your brow is where your brow should start.
- Arch: Look straight ahead and align the brush with the outer edge of your iris. The highest point of your brow should align with this point.
- End: Angle the brush from the outer edge of your nose to the outer corner of your eye. This is where your brow should end.
Step 3: Outline Your Brows
Using an eyebrow pencil or powder, lightly outline the bottom and top edges of your brows. Follow yournnatural brow shape, creating a clean outline to fill in later.
Tips:
- Use light, feathery strokes for a more natural look.
- Avoid making the outline too dark or harsh.
Step 4: Fill in Your Brows
With your eyebrow pencil or powder, start filling in the sparse areas within the outlined shape. Use small, hair-like strokes to mimic the natural growth of your brow hairs.
Tips:
- Concentrate more colour on the tail and arch, keeping the inner part of the brow lighter for a gradient effect.
- Blend with a spoolie brush to soften any harsh lines and distribute the colour evenly.
Step 5: Define with Concealer
To sharpen the edges and clean up any mistakes, apply a small amount of concealer around your brows:
- Use a small, flat brush to carefully apply concealer just beneath the brow and above the brow line.
- Blend the concealer outward to avoid harsh lines, ensuring a seamless transition into your skin.
Step 6: Highlight the Brow Bone
Adding a highlighter to your brow bone can lift and define your brows:
- Apply a subtle highlighter directly under the arch of your brow.
- Blend well to avoid a stark line and create a natural, lifted look.
Step 7: Set Your Brows
To keep your brows in place all day, use a clear or tinted eyebrow gel. Brush the gel through your brows in an upward and outward motion to set the hairs.
Product Recommendation: The Brow Technicians Brow Set Styling Gel
Step 8: Final Touches
Step back and review your brows. Make any necessary adjustments to ensure symmetry and balance. If needed, add a bit more product or blend further for a polished finish.
Bonus Tips:
- Practice: Perfecting eyebrow contouring takes practice. Don’t be discouraged if it doesn’t look perfect the first time.
- Lighting: Always work in natural light if possible to see the true colours and shapes.
- Professional Help: If you’re struggling to achieve the desired shape, consider visiting a professional brow stylist for a consultation and initial shaping.
Conclusion
Perfect eyebrow contouring can significantly enhance your facial features and boost your confidence. By following these steps and practicing regularly, you'll be able to create beautifully contoured brows that frame your face and highlight your natural beauty. Happy contouring!

